Lemuroid 1.5.0 brand new touch controls
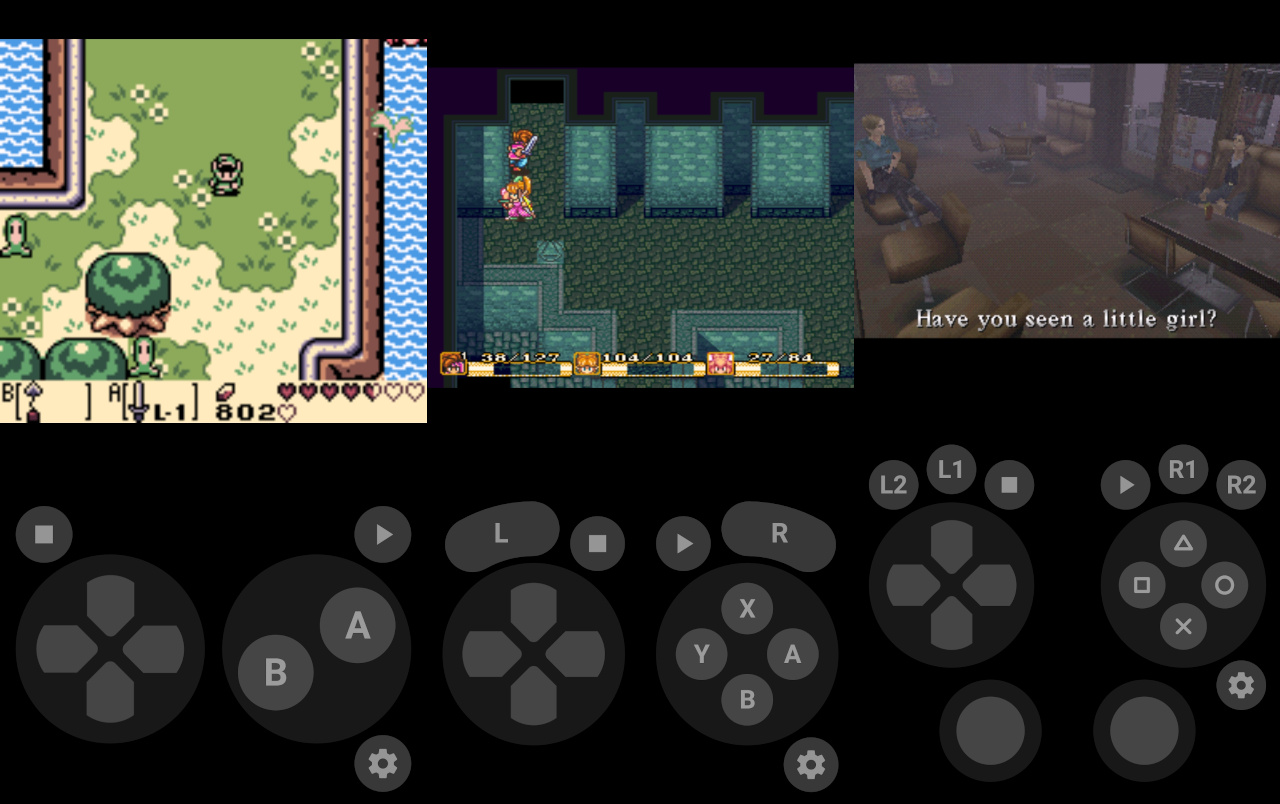
This post is going to be a little bit longer and technical than usual, so if you want to take a shortcut, here’s the kicker: Lemuroid 1.5.0 is out with completely new touch controls!
You’re free to go, but if you want to know how we got there, sit tight!
This journey starts back in September 2019, when I thought it was a good idea to implement each virtual key as a separate Android View. Android was managing touch events for me and everything just worked… Kind of.
After a few months the first issues started to surface. Some people were complaining about missing touches or improper multi-touch handling while others wanted some form of customization. Adding new consoles was also becoming a bit of a chore, with many similar but different xml layouts and Kotlin classes.
It was time to go back to the blackboard.
After a few days of thinking and prototyping I decided to design everything around a simple principle: putting primary controls directly under your thumb, and secondary controls radially around them. The implementation was done by drawing everything inside a single Android View on an accelerated Canvas and manually managing touch events.
This had its own set of challenges such as optimal positioning and sizing, and making sense of touch inputs, but in the end, I’m quite proud of the result.
So what can you expect from these new touch controls?
- They are automatically sized to optimize the available space
- Touch targets are much bigger and no longer related to the draw area
- They can be customized in size and vertical position
- The most complex layouts (n64, psx, psp…) can rotate up to 45 degrees, making them more comfortable at the expense of screen estate
- Multitouch works as you’d expect
- It is possible to slide your finger from one control to another (while thumbsticks and d-pads still lock on your finger)
- The diagonal in d-pad now has a smaller activation area
- You can press thumbsticks in the PlayStation layout by double tapping and holding
- Tilt to Stick can be activated with a triple tap on any Stick
As before, the game pad View is split in the middle to accommodate both portrait and landscape orientations.
Everything was developed with Lemuroid in mind, but I decided to publish it as a separate Android library which you can integrate into your emulator, game or app. Say hello to RadialGamePad!
Another big news for today, if you wish to support the continuing development of this project, I launched my very own Patreon page.
Feel free to take the new controls out for a spin and let me know what you think!
